3D Printing Stringing: The Ultimate Guide to Solving Angel Hair
3D printing stringing is probably the most frustrating defect for any FDM printer user. It is also called “angel hair” or “oozing.” This phenomenon occurs when thin plastic threads stretch between the different parts of your model, ruining the precision and aesthetics of your creations. Fortunately, it is not inevitable. In this comprehensive guide, we will see how to permanently eliminate stringing from your prints.
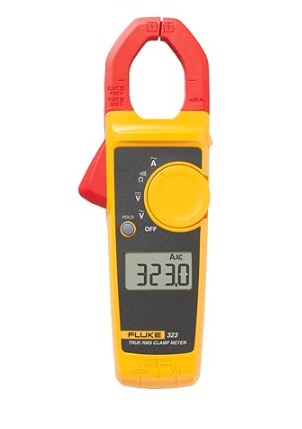
Fluke 323 Clamp Meter (True RMS, 400A AC)
🛠️ The essential tool for this project.
What is 3D printing stringing and where does it come from?
3D printing stringing occurs when the print head performs a “travel” movement (a movement without extrusion) to pass from one area to another. If the pressure in the nozzle remains too high or if the plastic is too liquid, it continues to flow by gravity, leaving behind these unwanted threads. Understanding this mechanism is the first step to correctly adjusting your slicer settings (Cura, PrusaSlicer, or OrcaSlicer).
1. Retraction: Your secret weapon against 3D printing stringing
Retraction is the most effective parameter to combat 3D printing stringing. It consists of rotating the extruder in reverse just before a travel move to pull back the filament and drop the pressure in the nozzle.
- Retraction Distance: It depends on your extruder. For a Direct Drive (extruder on the head), aim for 0.5 to 1.5 mm. For a Bowden setup (filament passing through a tube), try between 4 and 7 mm.
- Retraction Speed: If it’s too slow, the plastic flows before being withdrawn. If it’s too fast, you risk breaking the filament. A speed of 40 to 55 mm/s is generally ideal.
2. Extrusion Temperature: Too much heat kills precision
Temperature directly influences the viscosity of the plastic. The hotter it is, the more fluid the plastic becomes, and the more frequent 3D printing stringing occurs. If you see many threads, try lowering the temperature in 5°C increments.
Pro tip: Print a “Temp Tower.” This is a model that changes temperature at each level. This allows you to visualize exactly at what degree your filament stops oozing while maintaining good adhesion between layers.
3. Travel Speed: Moving fast to avoid oozing
Travel speed is often forgotten in the fight against 3D printing stringing. The idea is simple: the faster the head moves between two points, the less time the plastic has to flow through the nozzle. If your machine is stable, increase the travel speed to 150 or 200 mm/s.
4. Filament Humidity: The invisible culprit
Many makers pull their hair out over 3D printing stringing when the problem is material-related. Filaments like PETG, TPU, or Nylon are hydrophilic: they absorb water from the air. During heating, this water boils and creates pressure that pushes the plastic out.
If you hear small “pops” during printing, your filament is damp. Dry it in a dedicated oven or use a filament dryer to regain perfect quality.
Conclusion
Solving 3D printing stringing is a necessary step to upgrade the quality of your creations. By combining calibrated retraction, controlled temperature, and dry filament, your parts will come off the printer with an impeccable finish. To go further in designing your objects, don’t forget to choose the right 3D CAD software.
For advanced technical guides, consult the Simplify3D documentation on print quality.
Note: To deepen your technical knowledge, consult our guide on Ohm’s Law.