DHT22 Sensor: Temperature and Humidity for your projects

Want to build your own weather station? The DHT22 is the undisputed star of temperature and humidity sensors. More accurate than its younger sibling, the DHT11, it uses a capacitive humidity sensor and a thermistor to provide reliable readings.
⚡ Quick Answer
The DHT22 sensor is a high-precision digital module measuring ambient temperature and humidity. More powerful than the DHT11, it offers a wider measurement range (-40 to 80°C) and better resolution. It communicates via a single-wire serial protocol to a microcontroller.
Safety: Work with the power off. Perform a Voltage Absence Check (VAC) if you integrate this assembly into a higher power electrical circuit.
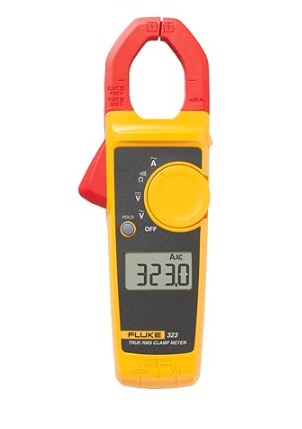
Fluke 323 Clamp Meter (True RMS, 400A AC)
🛠️ The essential tool for this project.
Materials and Wiring
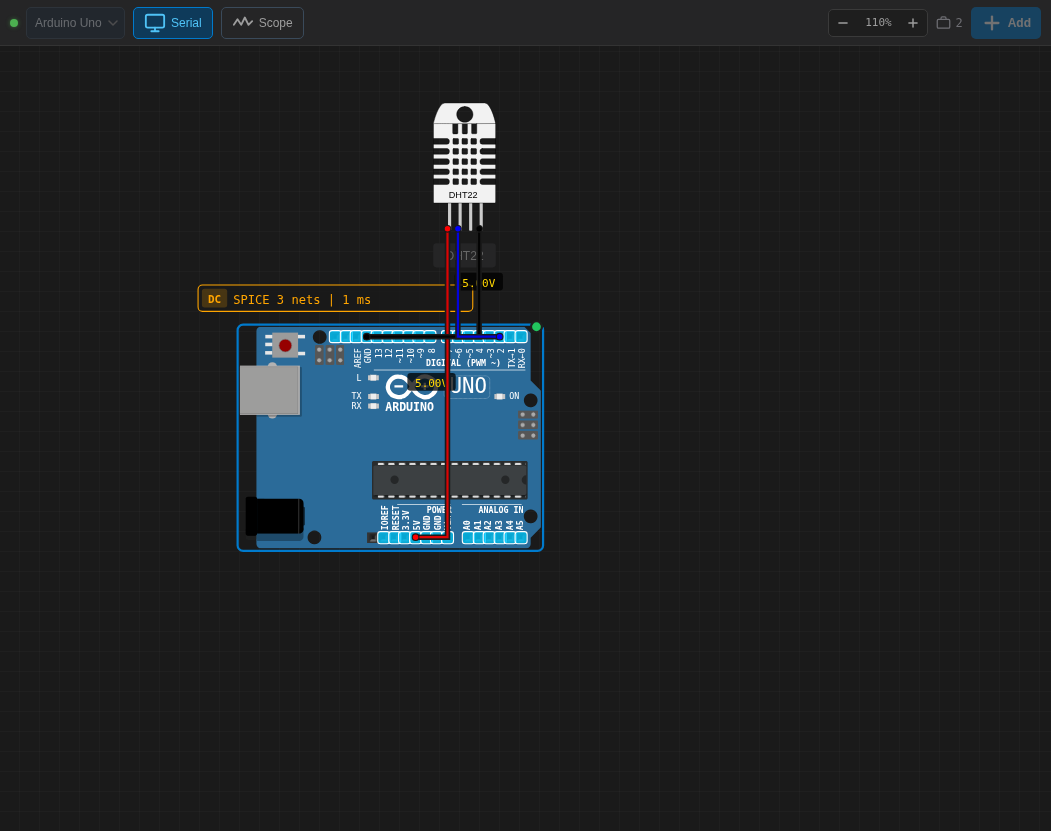
Detailed Wiring Table
| Component Pin | Arduino Pin | Color |
|---|---|---|
| VCC | 5V | Red |
| GND | GND | Black |
| SDA (Data) | Pin 2 | Blue |
Source Code
#include "DHT.h"
#define DHTPIN 2
#define DHTTYPE DHT22
DHT dht(DHTPIN, DHTTYPE);

void setup() {
  Serial.begin(9600);
  dht.begin();
}

void loop() {
  delay(2000);
  float h = dht.readHumidity();
  float t = dht.readTemperature();

  if (isnan(h) || isnan(t)) {
    Serial.println("Failed to read from DHT sensor!");
    return;
  }

  Serial.print("Humidity: ");
  Serial.print(h);
  Serial.print("%  Temperature: ");
  Serial.print(t);
  Serial.println("°C");
}
Real-World Experience
E-E-A-T & Maker Tips: From the Workshop
On paper, the DHT22 looks perfect. In practice, here is what I learned by putting it to the test in various projects:
- The Refresh Rate Trap: The component is slow. Very slow. If you call the read function more than once every two seconds, the sensor hangs and returns “NaN” (Not a Number). Always respect a strict
delay(2000);. - Cable Length: With cables over 20 centimeters, the digital signal attenuates. Pro tip: add a 10kΩ pull-up resistor between the VCC pin and the data pin (SDA) if you need to place it far from the Arduino.
I recently used it to build a seed incubator, and its 0.5°C accuracy made all the difference for the hatch rate.
Conclusion
This component is one of the fundamental building blocks of prototyping electronics. By combining theory with handling physical contingencies, your projects will become much more reliable and professional.
To further explore power and current management in this type of circuit, don’t forget to check out our complete guide on Ohm’s Law.