Potentiometer: Mastering Analog Inputs
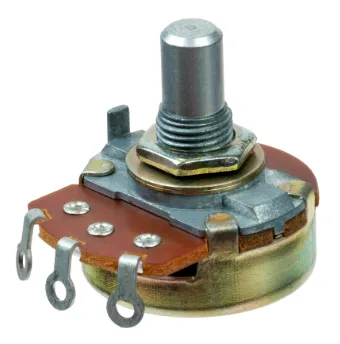
The potentiometer is the king of variable control. It’s the component hiding behind the volume knobs of your old radios. By pairing it with an Arduino, it allows for the generation of a continuous analog setpoint to control, for example, the exact angle of a servomotor in real time.
⚡ Quick Answer
A potentiometer is a manual variable resistor used to modulate an electrical signal. In electronics, it acts as a voltage divider, allowing a physical rotation to be transformed into an analog voltage (0 to 5V) readable by a microcontroller like Arduino via its ADC inputs.
Safety: Work with the power off. Perform a Voltage Absence Verification (VAV) if you integrate this setup into a more powerful electrical circuit.
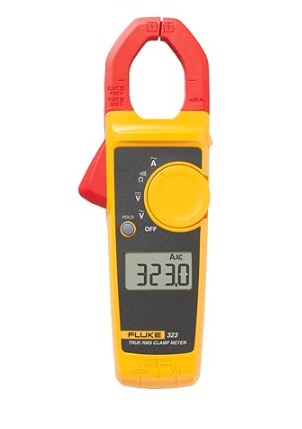
Fluke 323 Clamp Meter (True RMS, 400A AC)
🛠️ Expert Tip: To check your potentiometer’s operation and identify its terminals (wiper vs. outer terminals), a reliable multimeter is your best ally.
Materials and Wiring
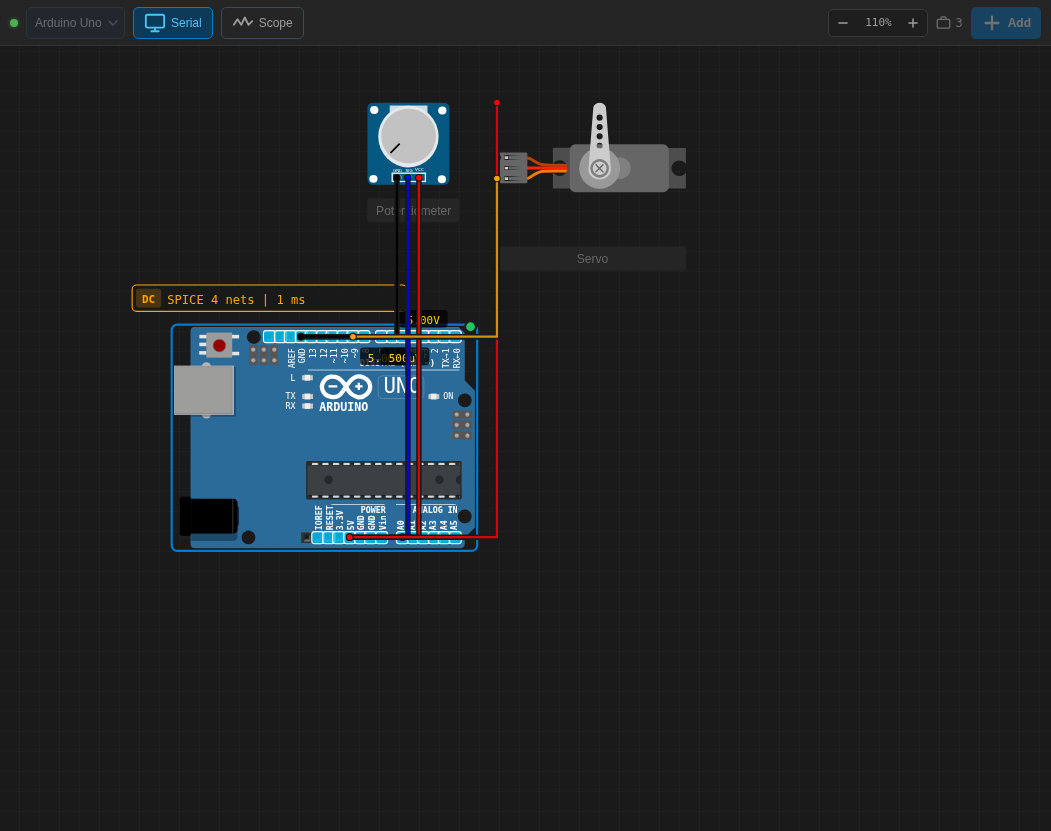
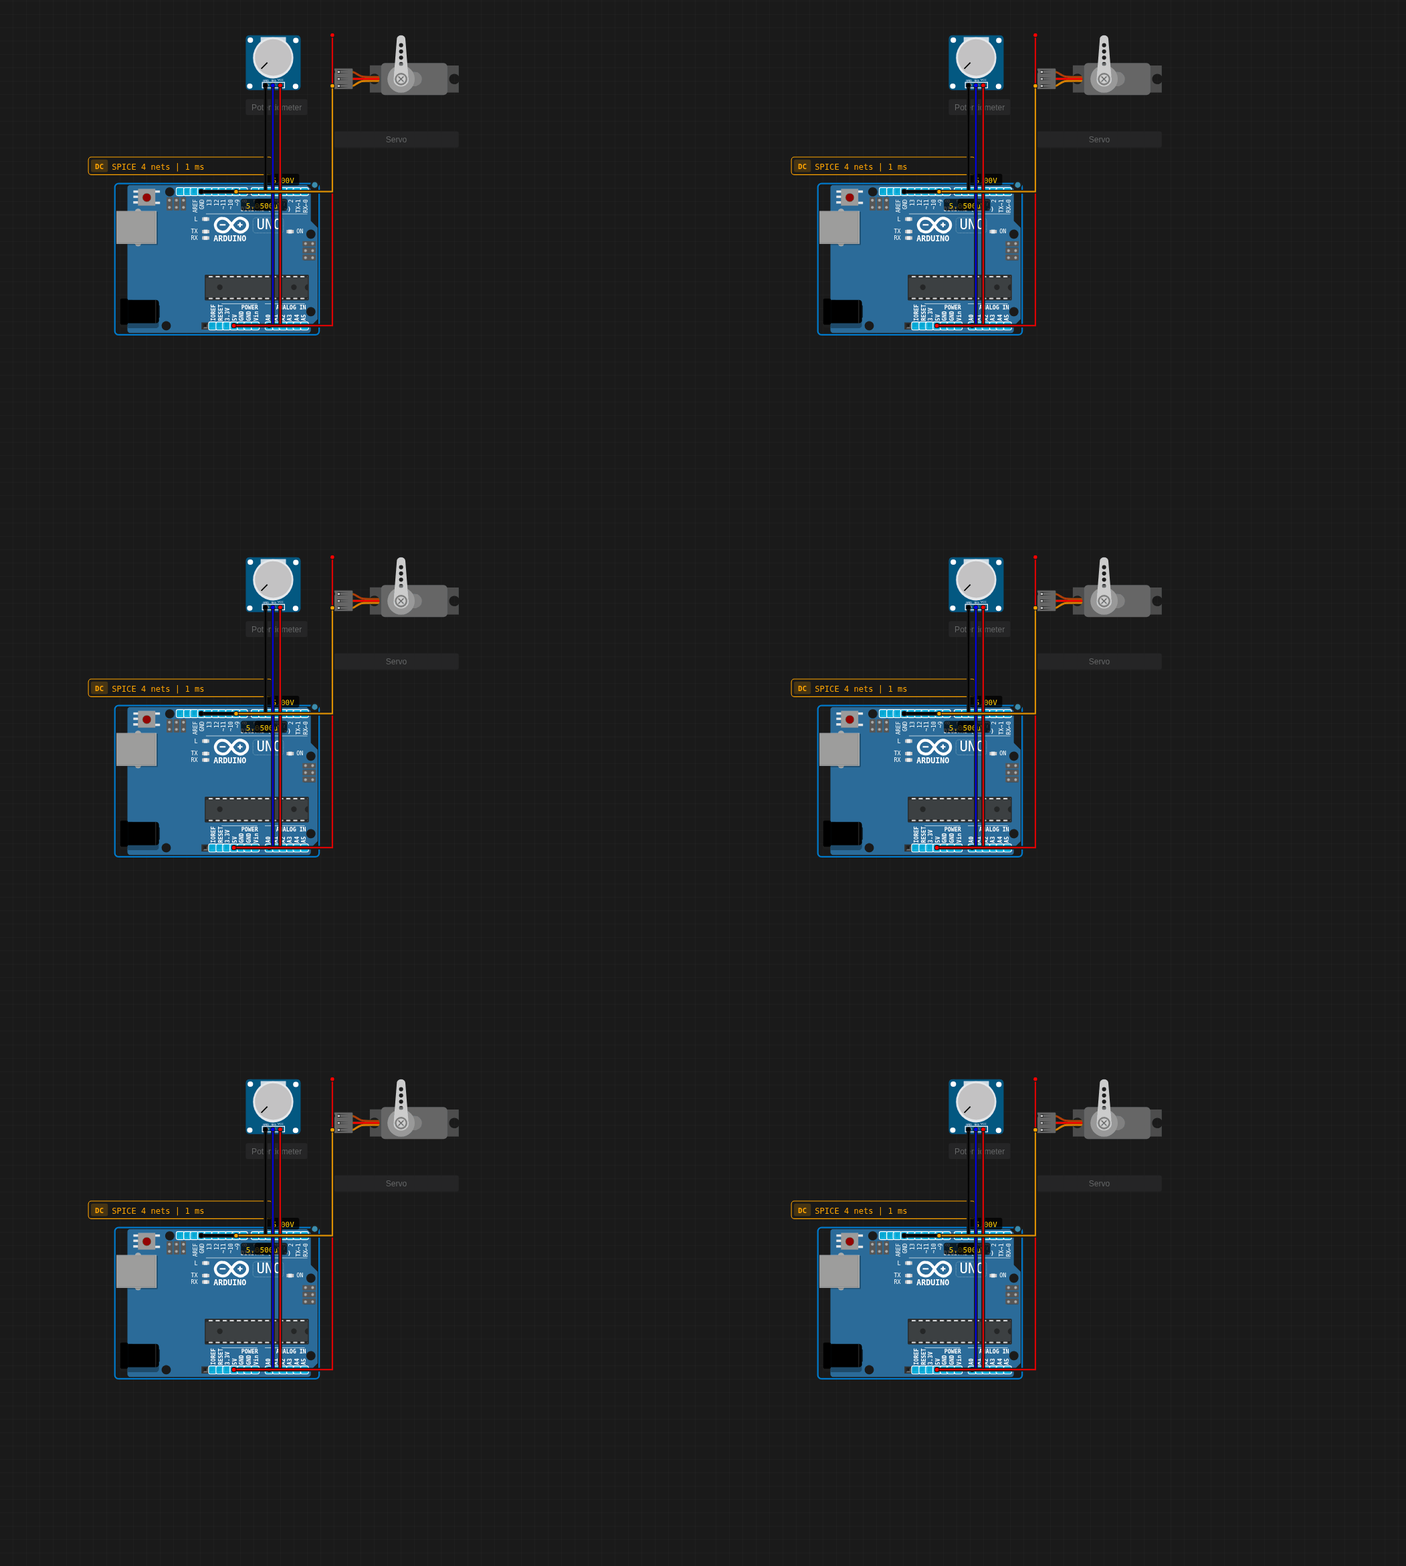
Detailed Wiring Table
| Component Pin | Arduino Pin | Color |
|---|---|---|
| Potentiometer GND | GND | Black |
| Potentiometer VCC | 5V | Red |
| SIG (Wiper) | Pin A0 | Blue |
| Servo Signal | Pin 9 | Orange |
Source Code
#include

Servo myservo;
const int potPin = A0;

void setup() {
  myservo.attach(9);
}

void loop() {
  int potValue = analogRead(potPin);
  int servoAngle = map(potValue, 0, 1023, 0, 180);
  myservo.write(servoAngle);
  delay(15);
}
Real-World Experience
E-E-A-T & Maker Tips: Understanding the Conversion
The Arduino Uno features a 10-bit Analog-to-Digital Converter (ADC). This means it converts a 0 to 5V voltage into a numerical value from 0 to 1023.
- The power of the map() function: In the code, I use
map(value, 0, 1023, 0, 180). This simple line of code instantly scales the potentiometer’s range (0-1023) to the servomotor’s angle range (0-180). It’s a powerful mathematical tool to avoid complex calculations! - Jitter (Trembling): If you notice your servomotor “jittering” when you aren’t touching the potentiometer, it means the analog input is picking up electromagnetic noise. In my robotic arm projects, I always add a 10µF capacitor between the signal pin and ground to smooth the voltage.
It was exactly this setup that I used to prototype the first version of an articulated arm controlled by sensor gloves. Truly satisfying!
Conclusion
This component is one of the fundamental building blocks of prototyping electronics. By combining theory with real-world troubleshooting, your projects will become much more reliable and professional.
To dive deeper into power and current management for this type of circuit, don’t forget to check out our complete guide on Ohm’s Law.